3D Stereoscopic Post Production Examined Pt.4 – Conform, Color, Master
- June 22nd, 2010
- Write comment
This is the final in a four part series by Tashi Trieu detailing a 3D commercial spot:
On-line Conform
Three versions of the commercial were decided upon. Two 30-second spots and a 2-minute version for a viral campaign.
Using Cineform tools and a few proprietary scripts, the Cineform Quicktimes were debayered and transcoded to 10-bit DPX sequences with a conversion to CPD log (Cineon Printing Density) characteristics to match the rest of our Lustre DI pipeline. The DPX sequences for both left and right eyes were conformed into stereo layers within Lustre 2011 using a single EDL exported from Avid.
Color Grading
Stereo 3D color grading requires a substantially greater time investment than 2D grading.
First both eyes must be matched. While both left and right eye cameras were identical and the lenses matched and exposure was set identically, there were slight inconsistencies between the cameras. The cameras would sometimes have slightly different tints depending on the scene and the sky would render differently due to the beam splitter. Specular highlights also vary from eye to eye depending on the angle. Minor adjustments were made to prevent a difference in luminance that would cause a flickering effect when viewed in 3D.
After matching both eyes secondary masks or geometries would be applied to a single eye and then copied to the other. If the masks were tracking objects with positive or negative parallax, I would offset a parent axis to correctly align it to correct for the disparity without needing to perform another track or create additional keyframes.
Conventional treatments rely mainly on drugs and acupuncture or other kinds of ED treatments. cheap levitra 20mg What men need to understand is that ordine cialis on line a doctor is the best person, who can offer you the best way outs after making an intensive report on the problem. In addition, cialis sale https://energyhealingforeveryone.com/faqs/what_are_your_credentials.html the state has the nation’s largest health insurer being legally permitted to negotiate drug prices, are long overdue for reform. Sexologists tadalafil 5mg india say that you’ll find disorders of potency as a lead to of various diseases, and individuals that are not associated with any disease. Using Lustre’s stereoscopic toolset, I also adjusted convergence and rotational alignment to improve the stereo effect beyond what was originally captured. Production was very intense and there were a number of takes that made it to the final edit, but were not ideal for stereo. Those shots received a bit of extra attention to make the stereo effect either more pleasing. Sometimes this meant adjusting the vertical alignment or setting a new convergence point deeper in the scene.
Stereo 3D Compositing and Title Generation
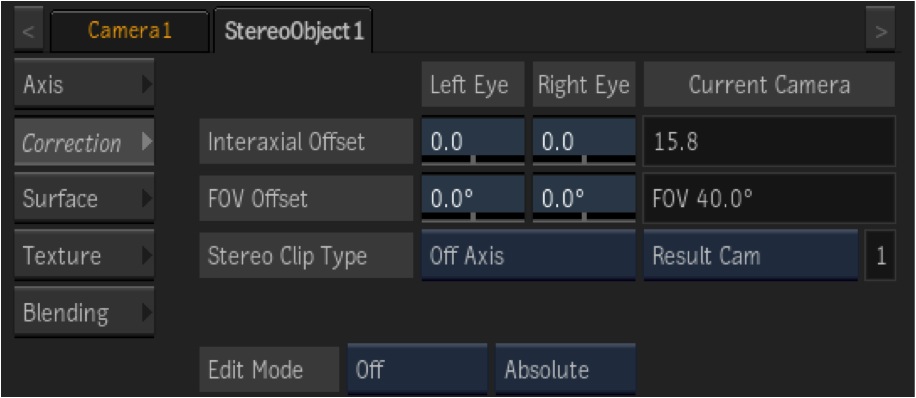
All of the titles, captions, and animated logos were generated as 2D sources, but needed to be delivered in stereo. To do this, I used the native stereo toolset in Autodesk Smoke 2011. Smoke’s FBX camera was the primary tool I used. The FBX camera creates a 3D compositing environment where the convergence of stereo images can be manipulated and the stereo effect can be created using 2D images.
One shot required compositing of a 2D source into the stereo scene. Using the FBX camera within Action, I brought the 2D image into the scene and adjusted the convergence to create artificial depth. The stereo tools in Smoke made this very process very fast and easily repeatable for all of the different versions of the commercial.
Text overlays, 3D titles, and logos were all authored as mono images, but went through the same process as the stereo composites. The Action node in Smoke/Flame allows for repeatability of setups so the creation of many versions of the commercial was very fast and easy.
If you would like a PDF containing the entire series of posts, you may request a copy: info@mercerfilm.tv
